
How to register on-premise USG FLEX series onto Nebula Control Center (NCC)?
Options

Nebula_Yvonne
Posts: 54  Zyxel Employee


Zyxel Employee
The USG FLEX series are Zyxel’s powerful firewall products that have the precise protection, delivering high level of performance and security for SMB business networks. With the recent integration of USG FLEX firewall series into the NCC, Nebula cloud-managed platform is now further enhanced with zero-trust security network to Nebula users.
In this article we will discuss how to register a USG FLEX on the cloud with detailed instructions.
Starting from the NCC
To register a device, we can use the wizard when creating a new organization (refer to Figure 1-3) or you can add the device in the existing site on Site-wide> Add devices as shown in Figure 1-1. then run the installation process on USG Flex> Security gateway, as shown in Figure 1-2.

Figure 1-1: Site-wide> Add devices

Figure 1-2: Click Waiting ZTP then refer to Figure 6
Figure 1-3: In organization drop-down list, you can find the Create organization to start the wizard
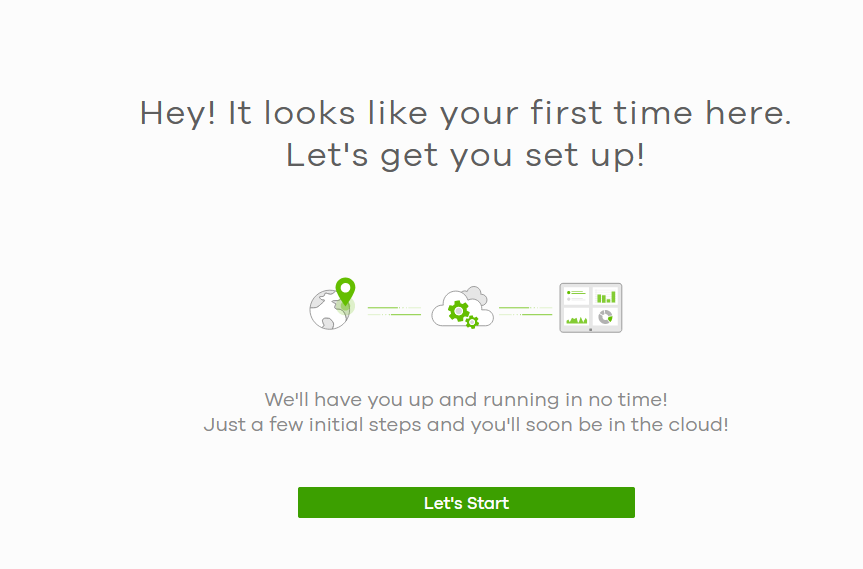
Figure 2: Start the wizard and click Let’s Start
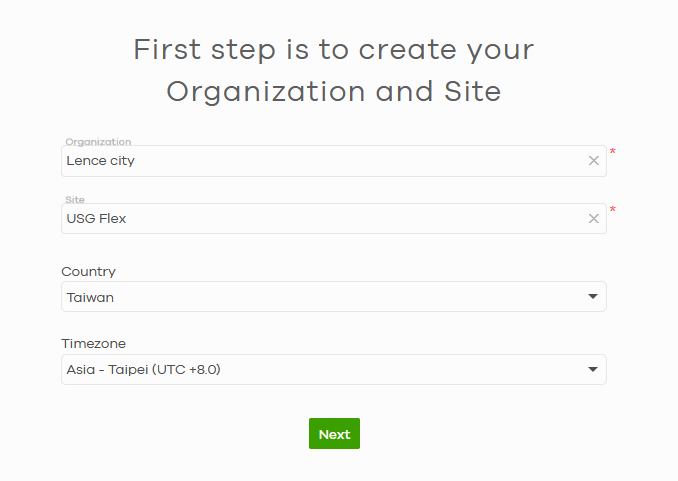
Figure 3: Create the organization and site
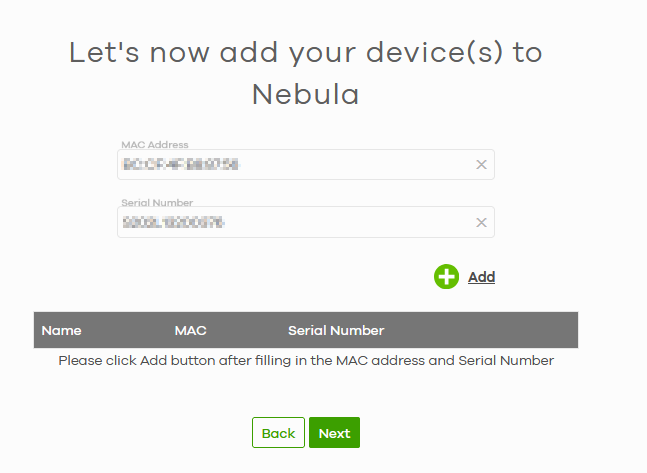
Figure 4: Add device
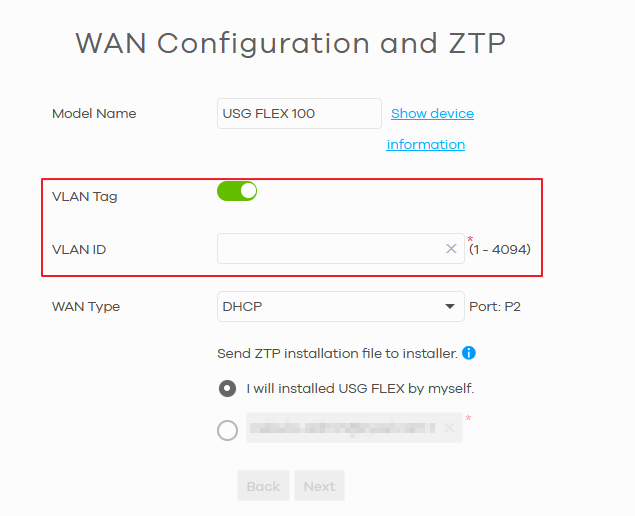
Figure 5: WAN interface and VLAN ID
There are 2 options, one is “install USG Flex by myself” which means the system will send the
installation mail to the current account, the other option is that you can
specify the email address.
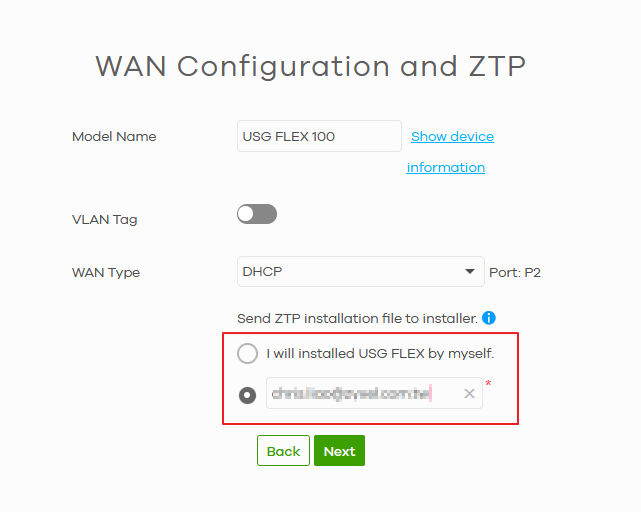
Figure 6: Select which option you prefer the installation email to be sent
Installation mail
Once receiving the installation mail, you can prepare the scenario, as in Figure 7. Connect your laptop to the device Port 4 and WAN connection plugin to the Port 2, and please make sure the Internet is accessible.
After that, you can find the hyper link in the email, “click here or copy the link to your browser”, click it to start the ZTP process.

Figure 7: installation

Figure 8: ZTP process
Please be aware that before the device going on cloud, you will need to “Reset” it to the factory default state; if not, you will see the message, as shown in Figure 9 and you can see the system LED become blinking green from blinking amber.

Figure 9: Reset to the factory default

Figure 10:
Device go online
The other option is you can use the USB drive to run the ZTP process. There is a configuration file attached in the installation mail. First, please make sure your USB is running on FAT32 and then copy the attached file in the USB root folder.
The same condition, mentioned in the above steps will apply. Make sure you have reset the device before plugging the USB drive to the USG FLEX first, then the registration process will run automatically. If you have used the console/SSH to the device, you can find the “ZTP json file in pen-drive” message, as shown in Figure 11.
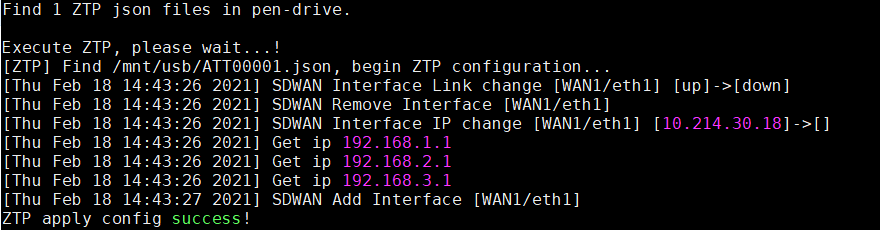
Figure 11: Running the ZTP process to register the device
0
Categories
- All Categories
- 393 Beta Program
- 2.1K Nebula
- 116 Nebula Ideas
- 78 Nebula Status and Incidents
- 5.1K Security
- 51 USG FLEX H Series
- 247 Security Ideas
- 1.3K Switch
- 70 Switch Ideas
- 906 WirelessLAN
- 34 WLAN Ideas
- 5.9K Consumer Product
- 210 Service & License
- 332 News and Release
- 71 Security Advisories
- 21 Education Center
- 5 [Campaign] Zyxel Network Detective
- 1.9K FAQ
- 880 Nebula FAQ
- 415 Security FAQ
- 220 Switch FAQ
- 195 WirelessLAN FAQ
- 46 Consumer Product FAQ
- 137 Service & License FAQ
- 34 Documents
- 34 Nebula Monthly Express
- 72 About Community
- 63 Security Highlight