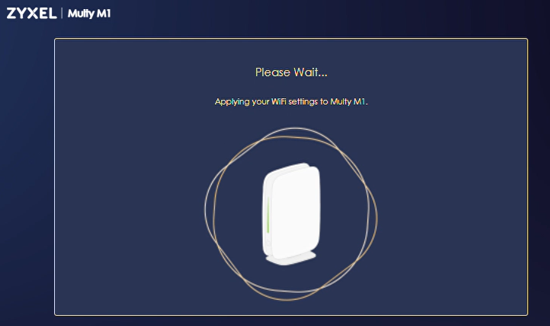
Multy M1 Installation
 Zyxel Employee


Multy M1 Installation
1. Plug in the power adapter on Main Multy M1
2. Plug in Ethernet cable on Multy M1 WAN port to the router above and connect Lan Ethernet cable to the PC.

When the LED light turn to bright blue led light, it means the Main Multy device is ready to be installed.

3. Open the web page and key in the IP address 192.168.212.1 to access Multy M1 WEB GUI and start the installation process.

4. Follow the steps shown on the WEB GUI and finish the installation


5. Click “Next” to continue the installation process

6. Set up SSID name and password for 2.4Ghz &5Ghz , to use a different name on 2.4Ghz &5Ghz SSID, you can untick the option “Keep 2.4G & 5G name the same”


7.Log in myZyxelCloud to complete the installation.
Click “Next” to continue the process

Click “OK”, and will redirect to myZyxelCloud login page.

8.Click Sign up to register an account on myZyxelCloud


Go to the email account and click the verification link.

After clicking the verification link, your account is successfully confirmed.

Enter your account and password to sign in.

Click “ Authorize” to authorize MULTY_GUI to your myZyxelCloud account.

9.After authorized, will redirect to the WEB GUI,
Set up a local password for the Multy M1.


Need to log in again for security purposes.


The LED light will stay in solid bright green led light after completing the installation.
"
Categories
- All Categories
- 442 Beta Program
- 2.9K Nebula
- 219 Nebula Ideas
- 127 Nebula Status and Incidents
- 6.5K Security
- 588 USG FLEX H Series
- 344 Security Ideas
- 1.7K Switch
- 84 Switch Ideas
- 1.4K Wireless
- 52 Wireless Ideas
- 7K Consumer Product
- 298 Service & License
- 476 News and Release
- 91 Security Advisories
- 31 Education Center
- 10 [Campaign] Zyxel Network Detective
- 4.8K FAQ
- 34 Documents
- 87 About Community
- 102 Security Highlight