How to add an additional subnet on the NBG7510
 Zyxel Employee


NBG7510 supports establishing two subnets.
You can separate subnets for clients and servers.
The following steps guide how to
set up the other subnet on NBG7510
Note: The additional subnet does not have a DHCP server, every Client under the
additional subnet should manually add the static IP address.
Step 1: Log in WEB GUI with IP address https://192.168.123.1

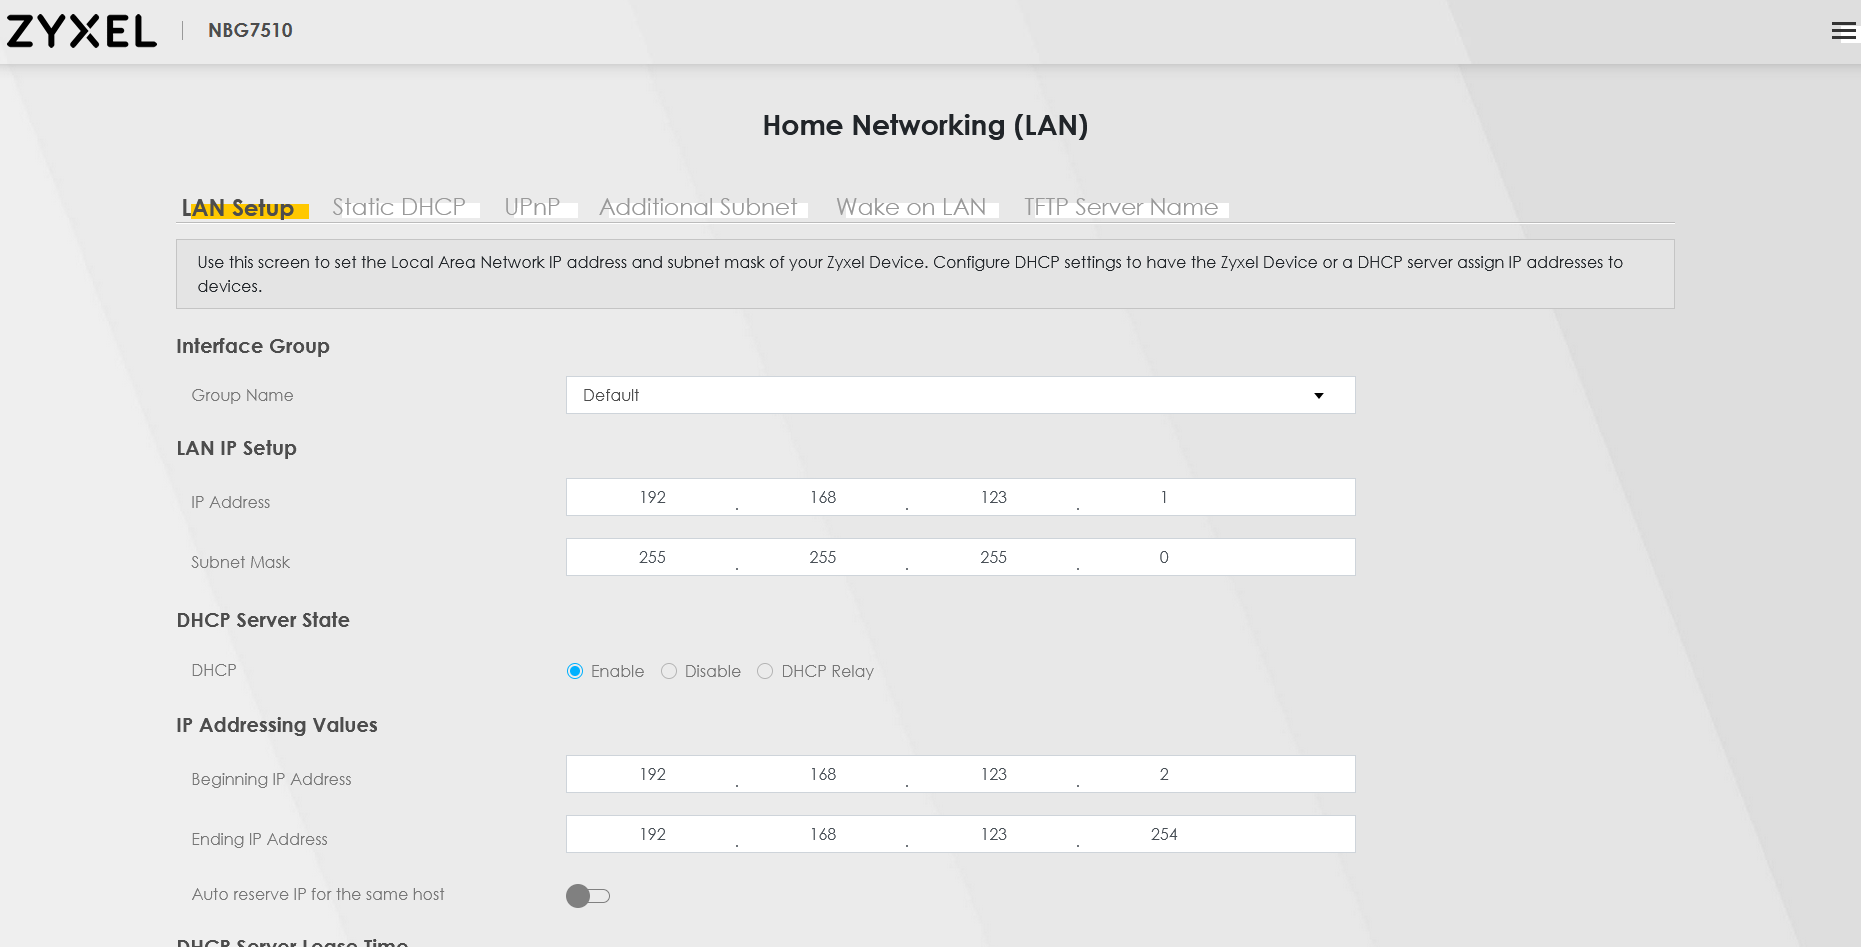
Step 2: Click the right upper panel , Go to Theme > Networking Setting > Home Networking(LAN)

On this page, you can customize your Main subnet.

Step 3: Click Additional Subnet, the 2nd subnet can be configured on this page.

The default option is disabled.
Turn the option into active and set the 2nd subnet gateway.
After configuration, it is available to access the 2nd subnet IP address from your Main subnet.
Note: the 2nd subnet on NBG7510 provides a gateway, but not a DHCP server.
The device using the 2nd subnet should set up the static IP address and point the gateway to NBG7510
Verification
Put a NAS under NBG7510, and set static IP on the NAS (eg.192.168.2.55)
After completing the NAS IP address settings, go to Theme > Connection Status to check.


Categories
- All Categories
- 442 Beta Program
- 2.9K Nebula
- 219 Nebula Ideas
- 127 Nebula Status and Incidents
- 6.5K Security
- 588 USG FLEX H Series
- 344 Security Ideas
- 1.7K Switch
- 84 Switch Ideas
- 1.4K Wireless
- 52 Wireless Ideas
- 7K Consumer Product
- 298 Service & License
- 476 News and Release
- 91 Security Advisories
- 31 Education Center
- 10 [Campaign] Zyxel Network Detective
- 4.8K FAQ
- 34 Documents
- 87 About Community
- 102 Security Highlight