Passkeys: A Seamless, Passwordless Login to your Zyxel Account

 Zyxel Employee


1. Benefits and User Guide for Passkey
A Passkey is a new sign-in method that lets you securely log in to websites and apps the same way you unlock your device, using a fingerprint, face recognition, or a device password.
This feature allows all users to securely log in to their Zyxel Account, regardless of whether they log in via email, Google, Apple, or Microsoft Entra ID. In addition, Passkeys enable one-tap sign-in, bypassing the interfaces of other service providers.
If you enable cloud sync, your Passkeys will be securely backed up and synced across all your devices, which means even if you switch or lose your device, you won't lose access to your account.
To log in with Passkey, you only need to complete three steps: Register Passkey, Set up Passkey, and Use Passkey.
We'll go through the steps in the following paragraph.
2. How to Register a Passkey
2.1 Getting Ready
Before setting up a Passkey, make sure your device has the following enabled:
- Enable Screen Lock (Required): Your device must have a screen lock enabled (e.g., PIN, fingerprint, or face recognition). This is the master key that protects your Passkeys.
- Turn On Bluetooth (Recommended): Keep Bluetooth active on your phone and computer. This allows for seamless sign-in when your Passkey is on a different device.
- Enable Cloud Sync (Recommended): Sign in to your Apple ID (iCloud Keychain), Google Account, or Microsoft Hello to back up and sync your Passkeys securely.
2.2 OS requirements for different platforms:
- Desktop or laptop OS version:
- Windows 10 or later
- macOS 13 Ventura or later
- ChromeOS109 or later
- Mobile device OS version:
- iOS 16 or later
- Android 9 or later
- iPadOS 16
- Browser version:
- Chrome 109 or later
- Safari 16.1 or later
- Edge 109 or later
3. How to Set Up a Passkey
Setting up a passkey is a straightforward process. You can do this via your web browser or the Nebula App.
3.1 Setting Up via Web Browser
In this paragraph, you'll learn how to complete the setting for the Passkey with your web browser:
3.1.1 Sign in to your Zyxel Account: First, log in to your Zyxel Account.
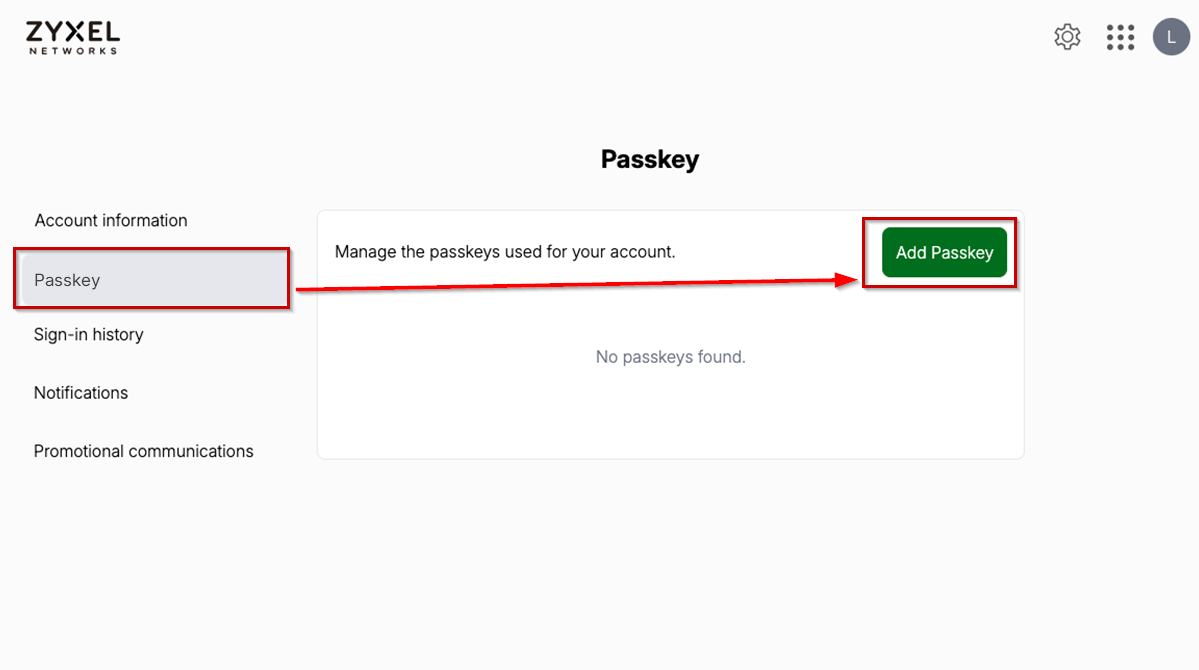
3.1.2 Go to the Passkeys page:
◦ From the Account Information page, click the "Passkeys" option in the left navigation panel.
◦ Click the "Add Passkey "button.
3.1.3 Follow system prompts: Your operating system will prompt you to authenticate using biometrics (fingerprint/face recognition) or your PIN.
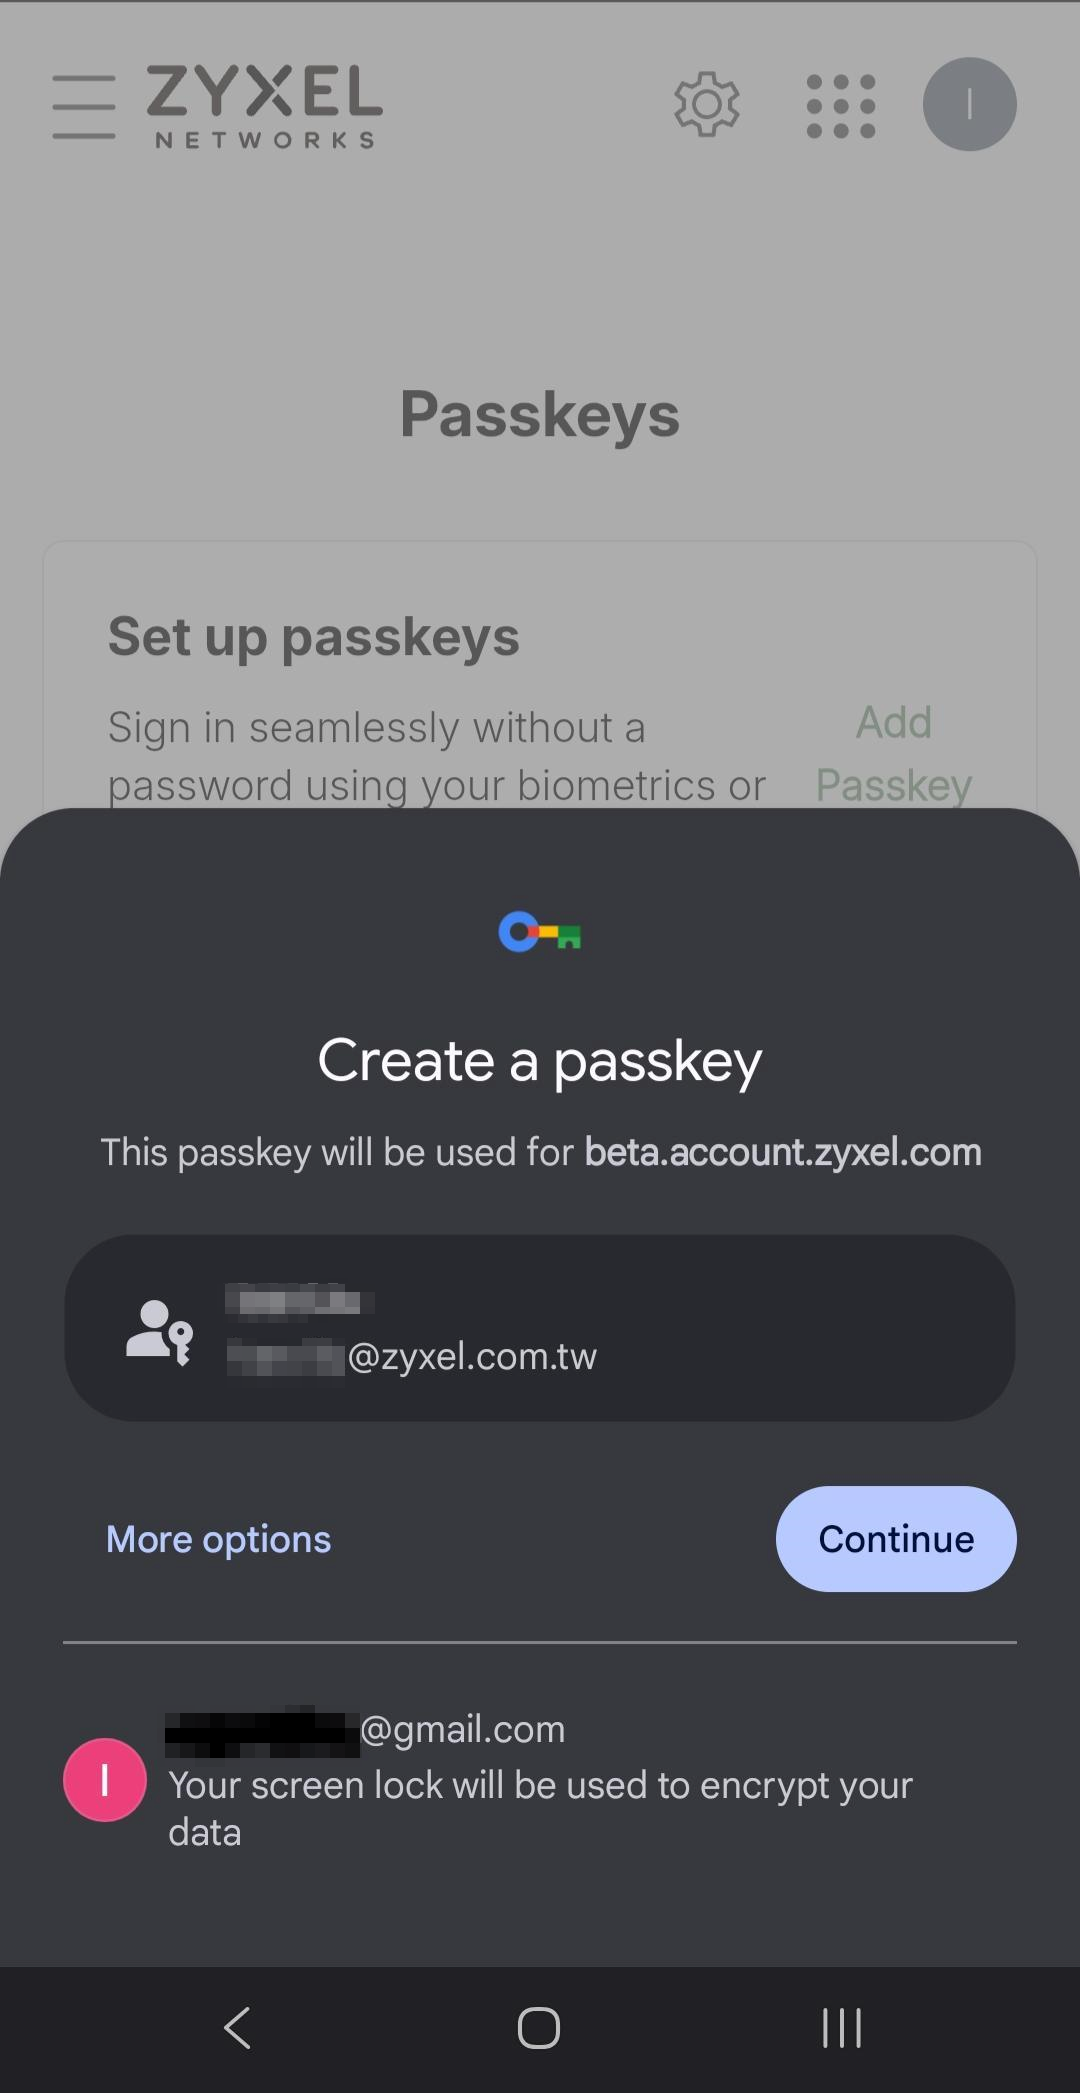
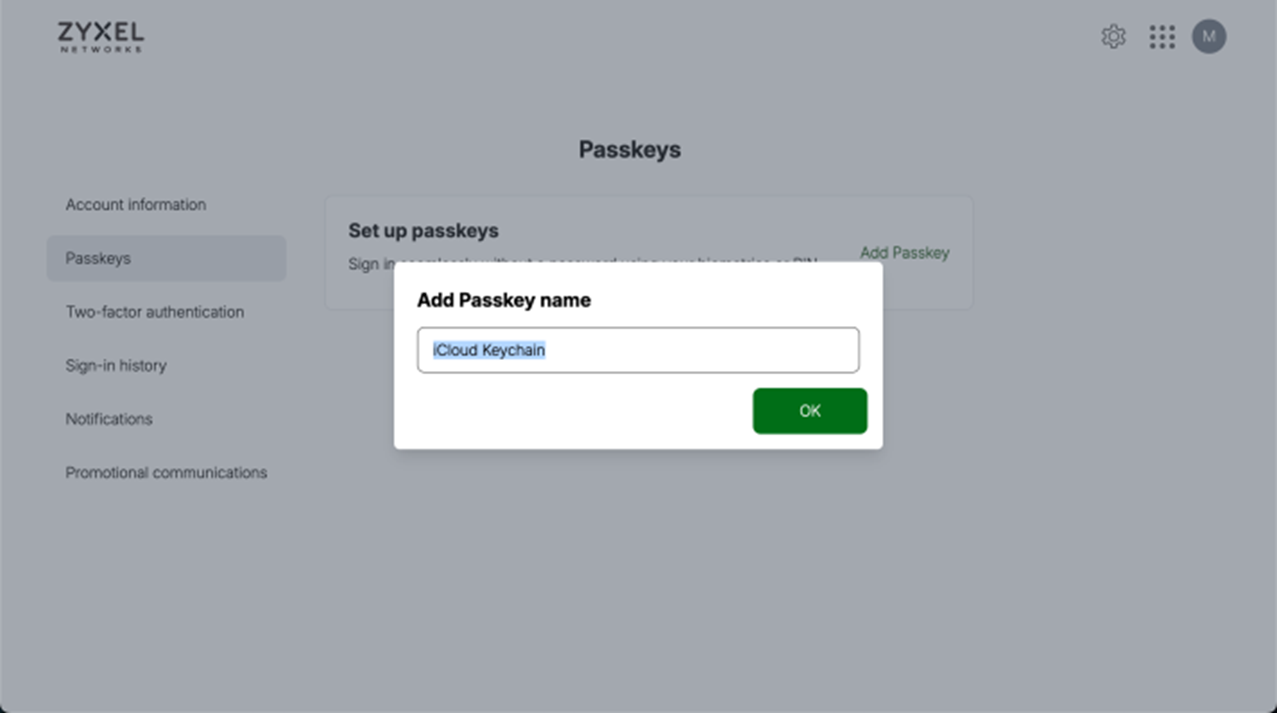
3.1.4 Name your Passkey: You can set a display name for this passkey (e.g.,"iCloud Keychain"). Click "OK".
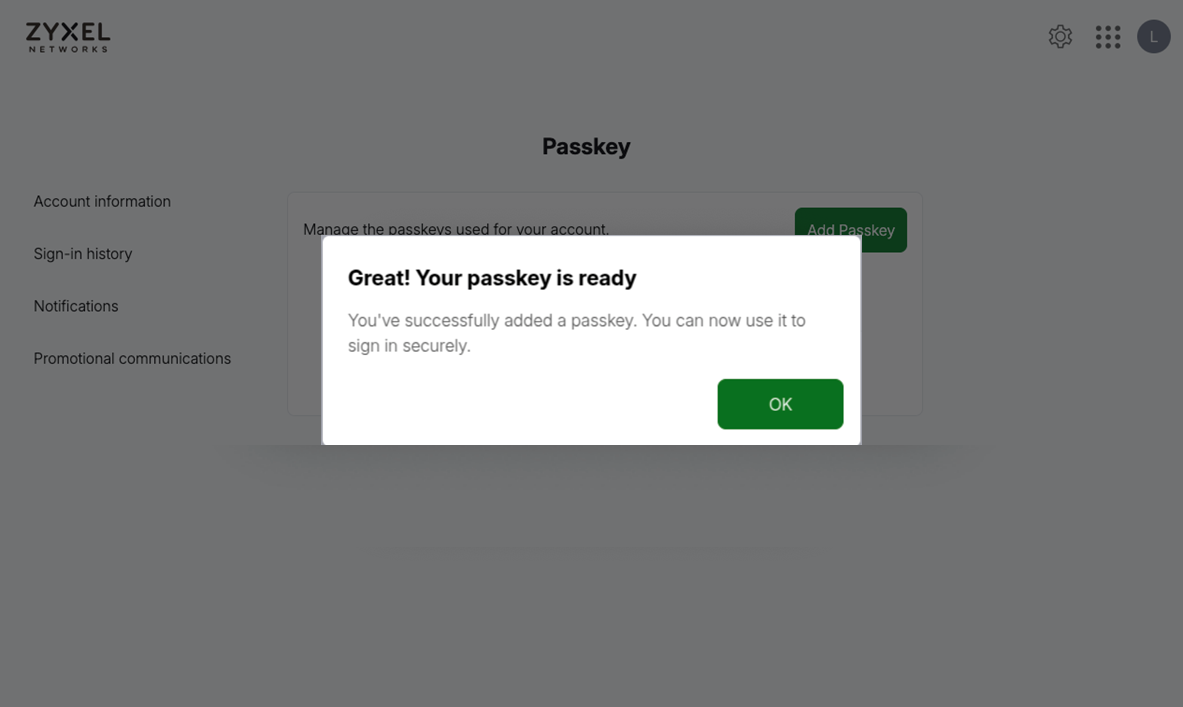
3.1.5 Passkey Added Successfully: Upon successful addition, you will receive a"Passkey added" notification.
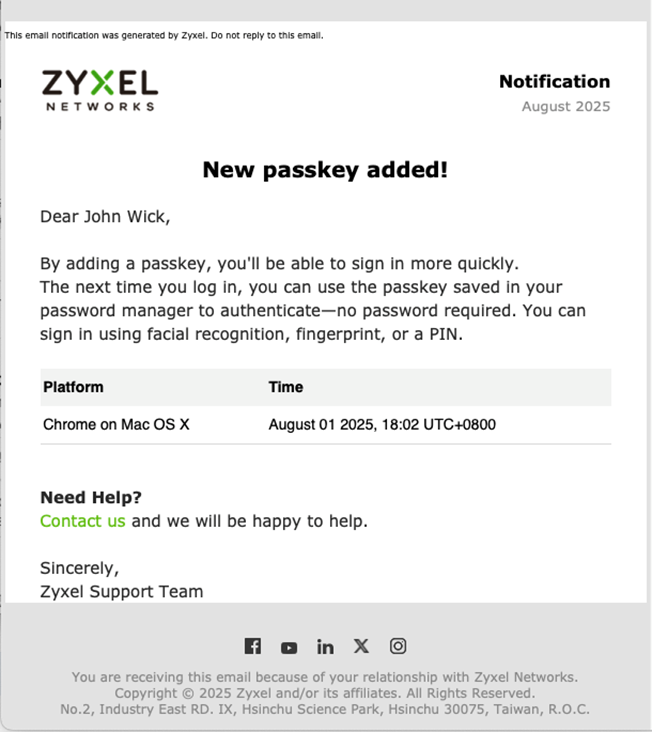
3.1.6 Email Notification: Zyxel will send an email confirming that your passkey has been successfully added to your Zyxel Account.
3.2 Setting Up via Nebula App
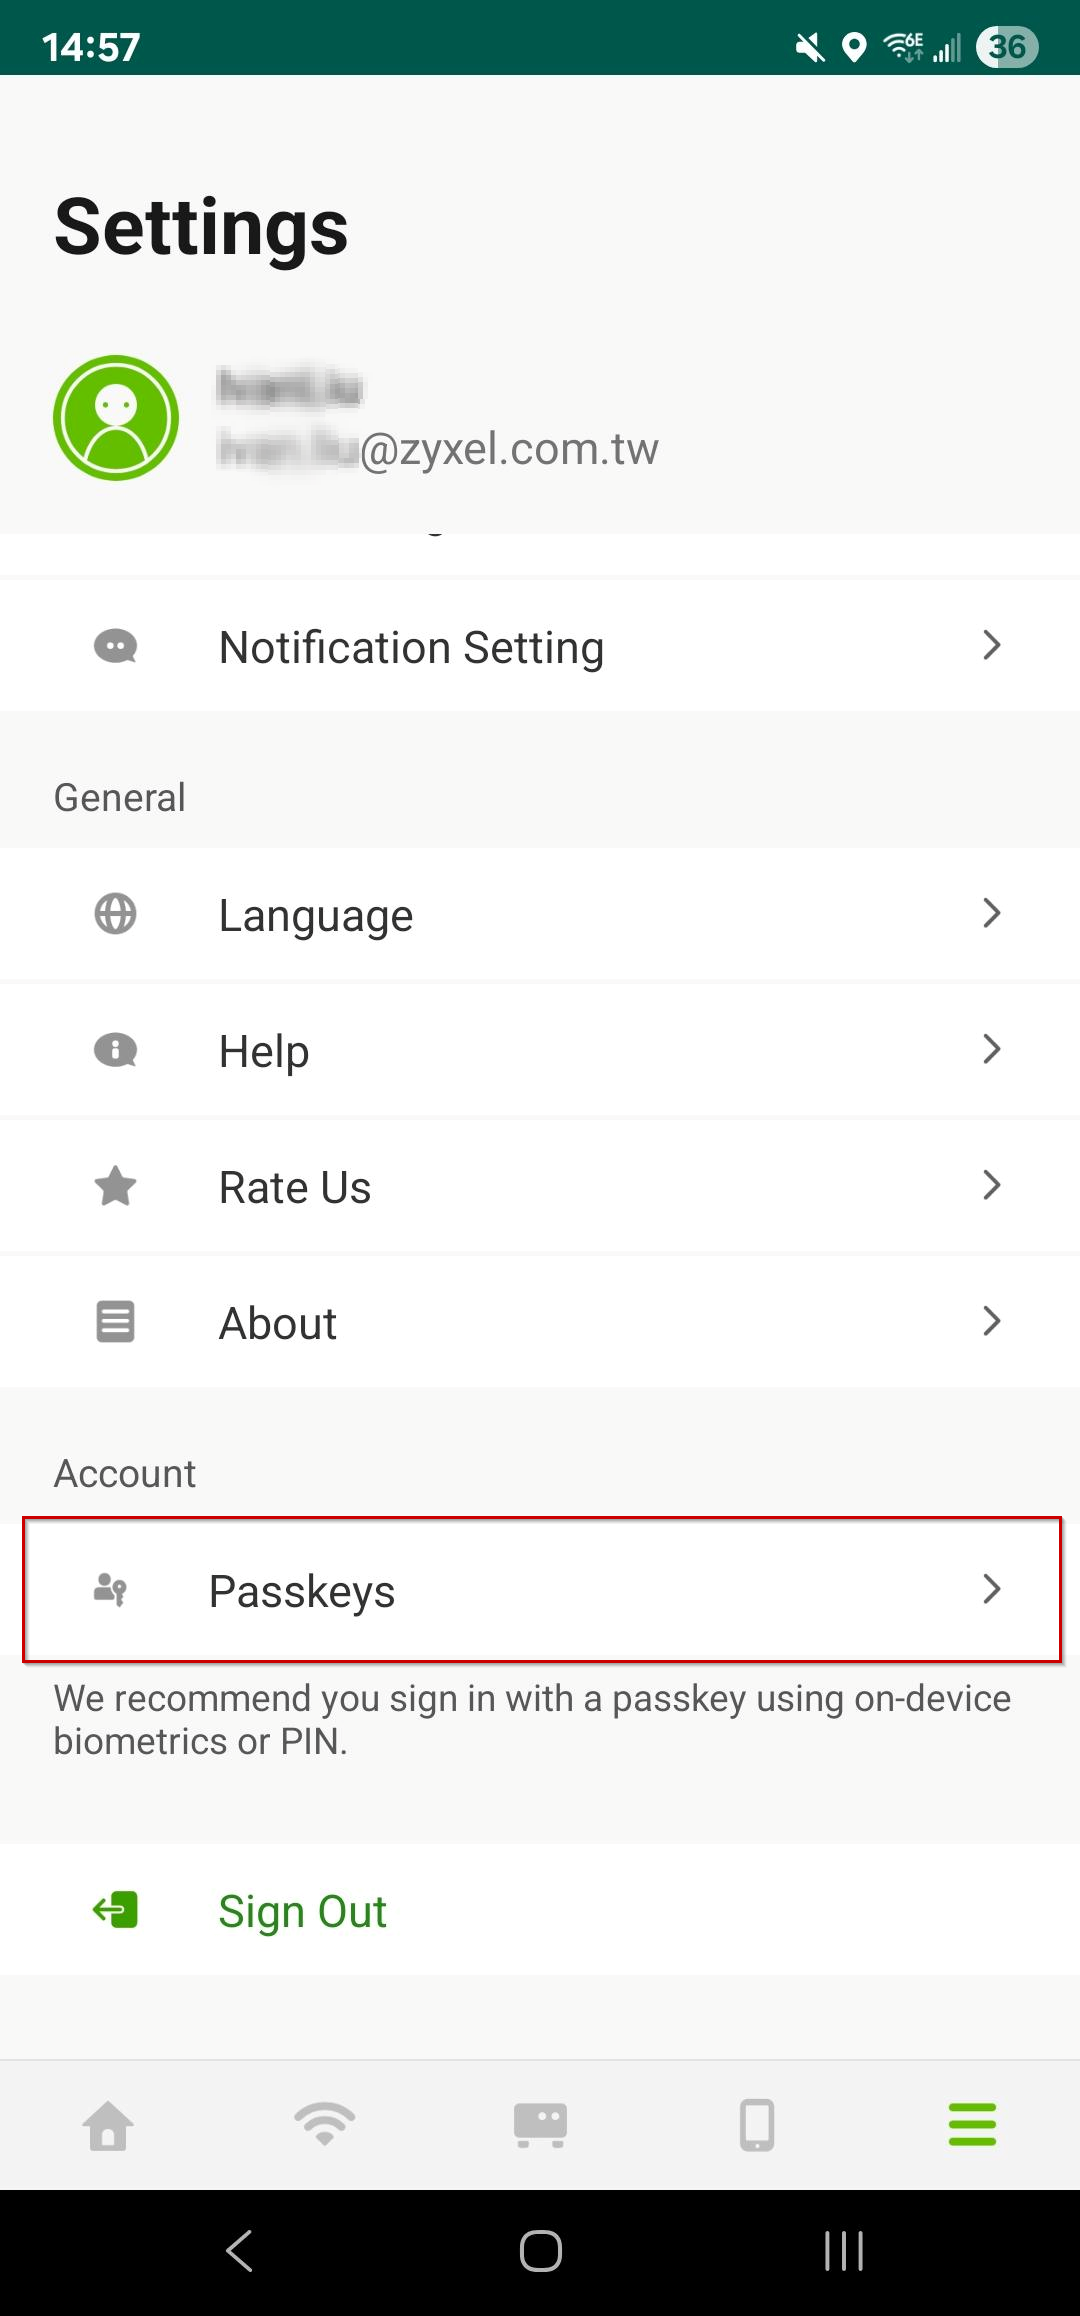
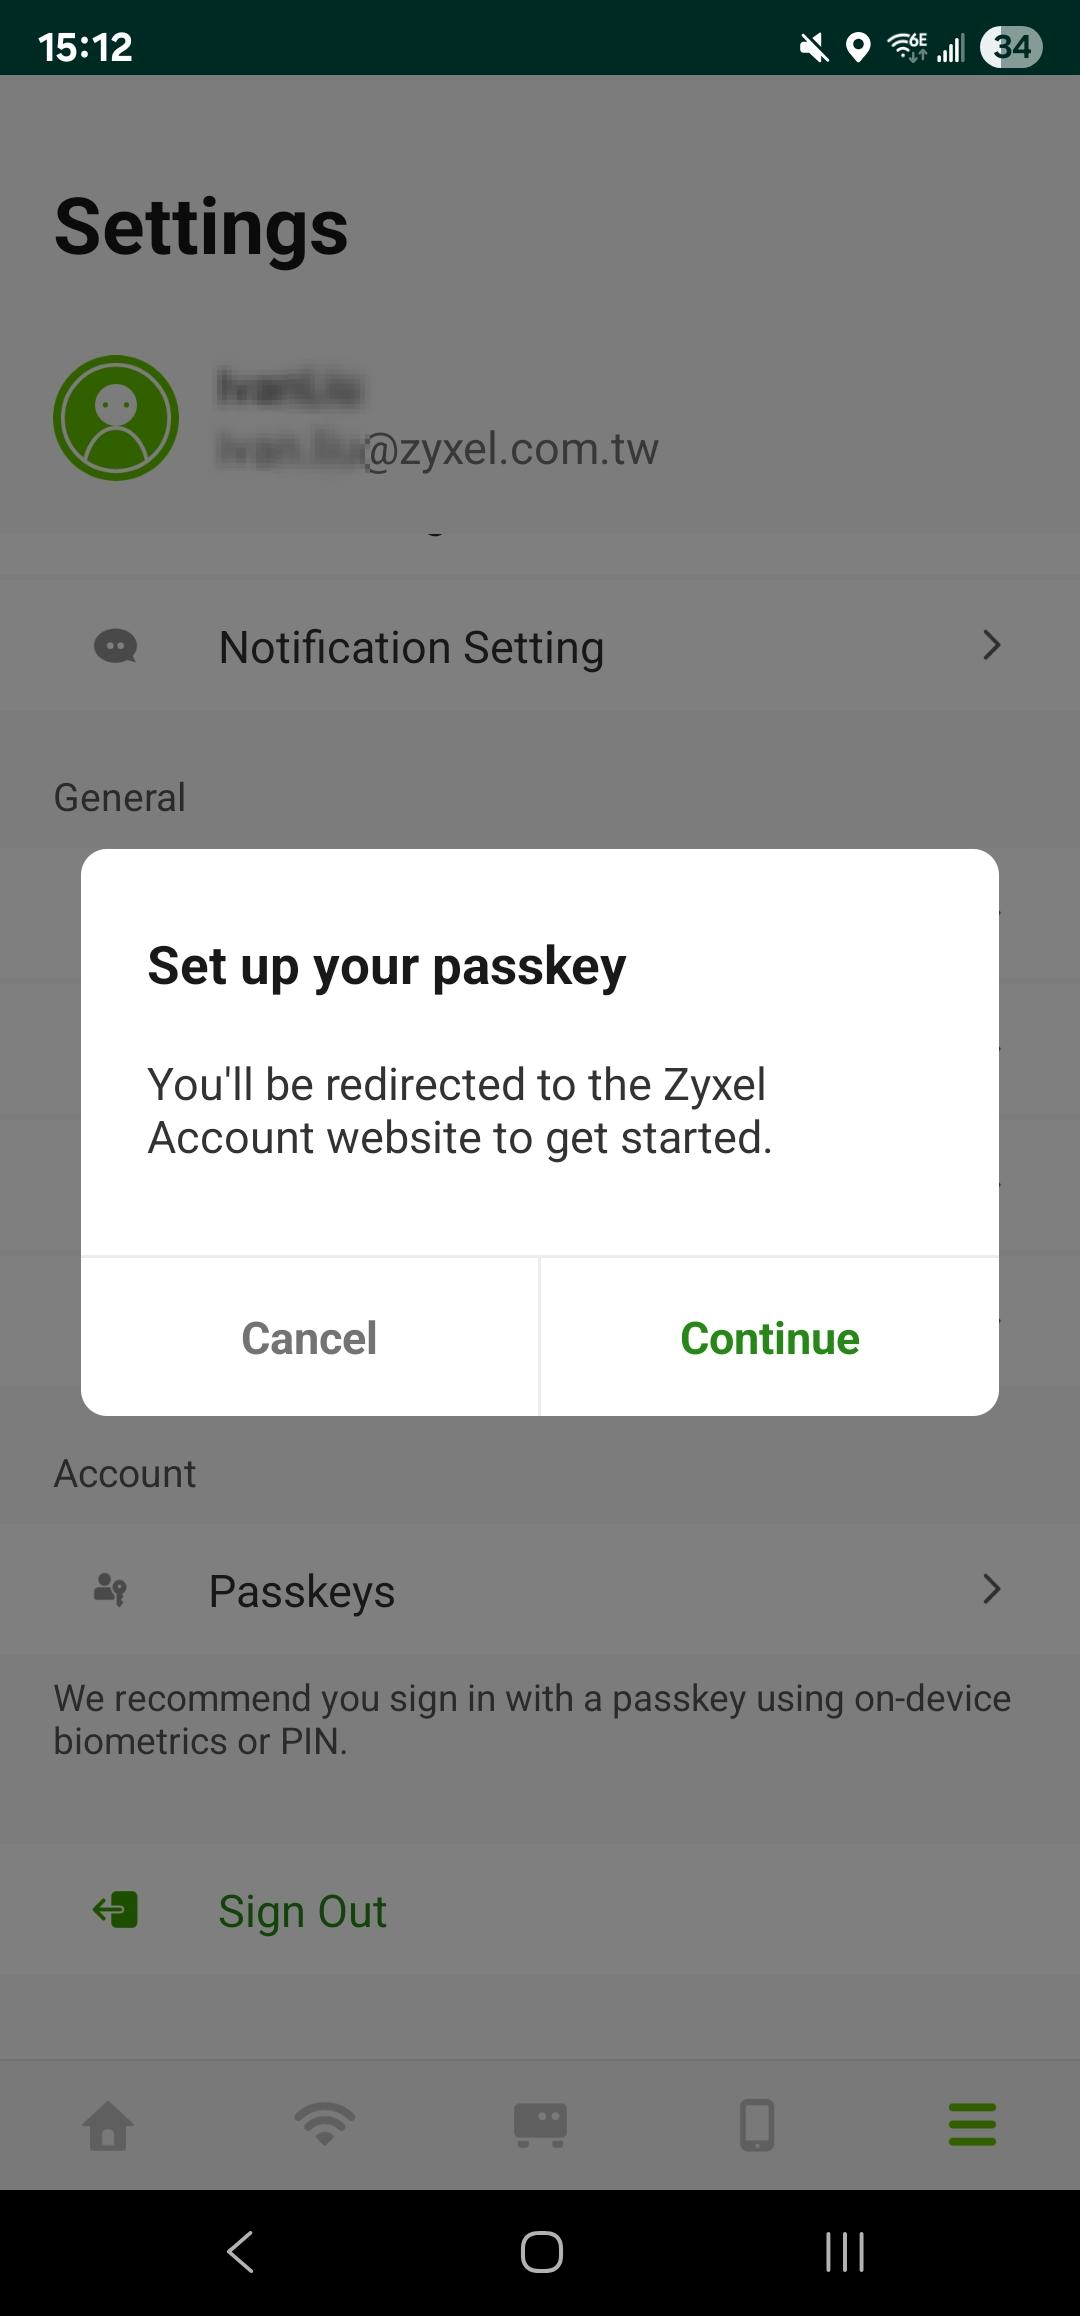
3.2.1 Navigate to Settings: In the Nebula App, navigate to "Settings".
3.2.2 ManagePasskey: Select "Passkeys".
3.2.3 Redirect to Zyxel Account website: You will be redirected to the Zyxel Account website, then follow the "Setting Up via Web Browser" steps above.
3.3 Adding a Passkey using Cross-Device Authentication (CDA)
If you want to add a passkey on a different device (e.g., use your phone to add a passkey on a computer):
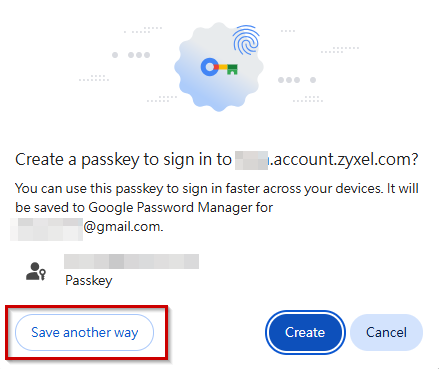
3.3.1 Click"Add Passkey": As per the steps above, click "Add Passkey".

3.3.2 Save another way: In the authentication prompt, select "Save another way" or a similar choice, which typically shows an option like "iPhone,iPad, or Android device".
3.3.3 Use a phone or a tablet: select "Use a phone or a tablet" or a similar choice, which typically shows an option like "iPhone,iPad, or Android device"
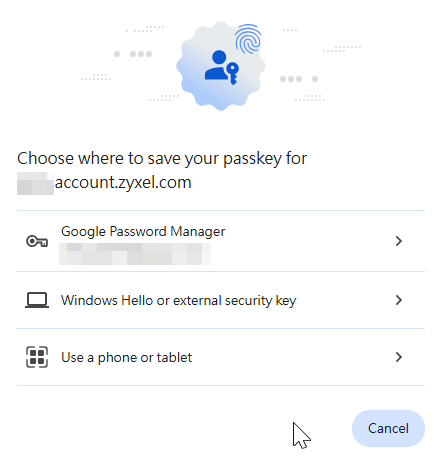
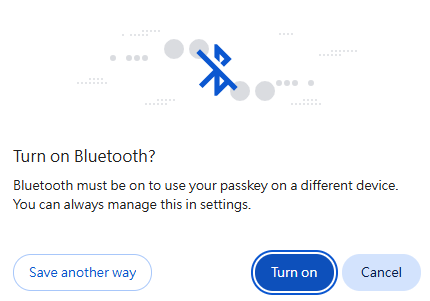
Please be aware that you need to turn on the Bluetooth and pair your computer with the end device.
3.3.4 QR code displayed: A QR code will be displayed on the screen.
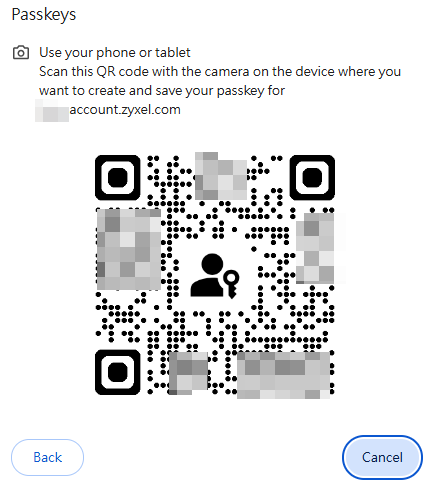
3.3.5 Scan the QR code: Use your mobile phone to scan this QR code.
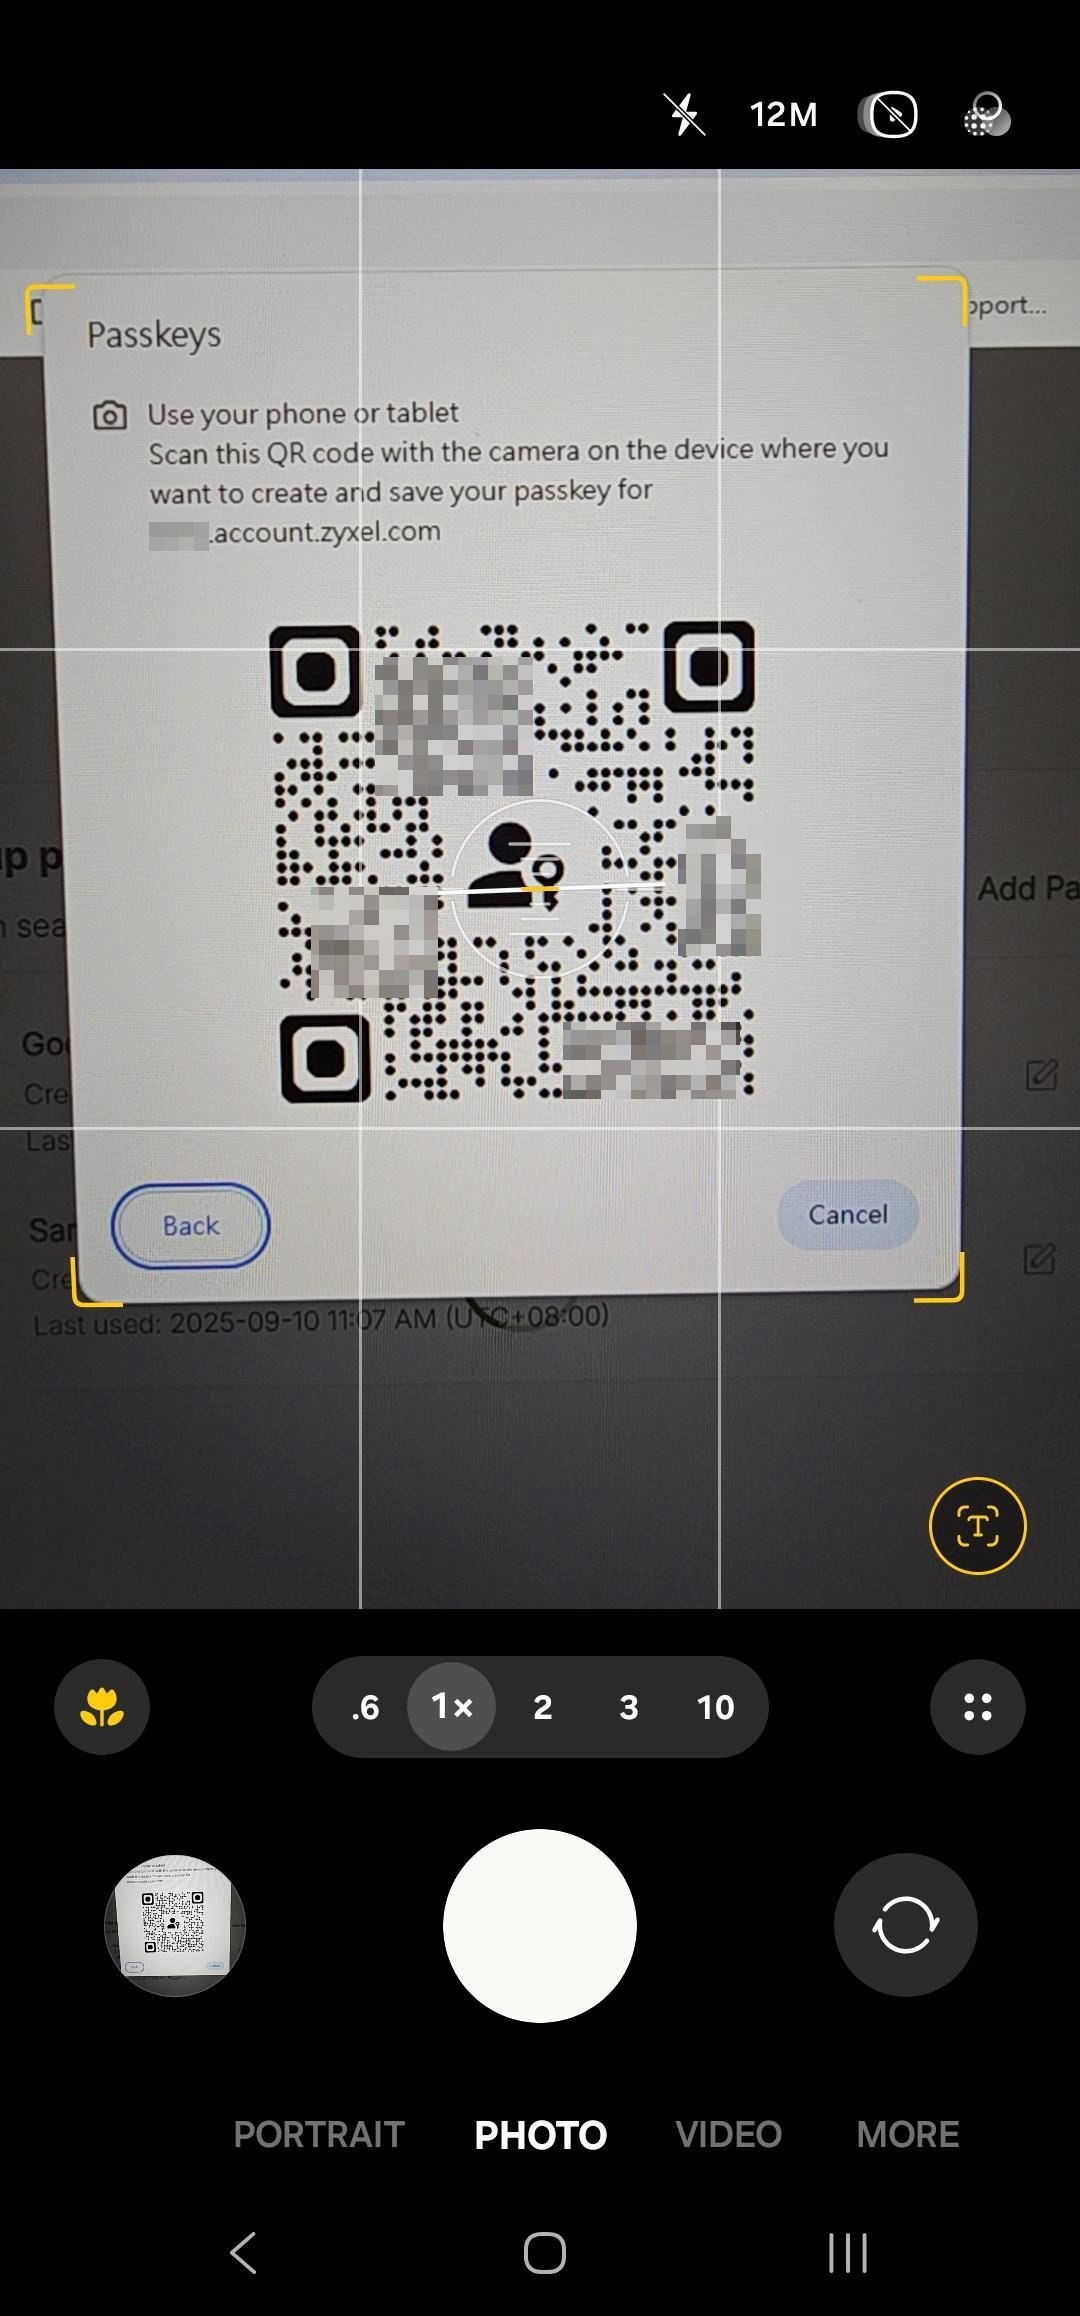
3.3.5 Authenticate on your phone: Follow the prompts on your phone to complete fingerprint or face recognition authentication.
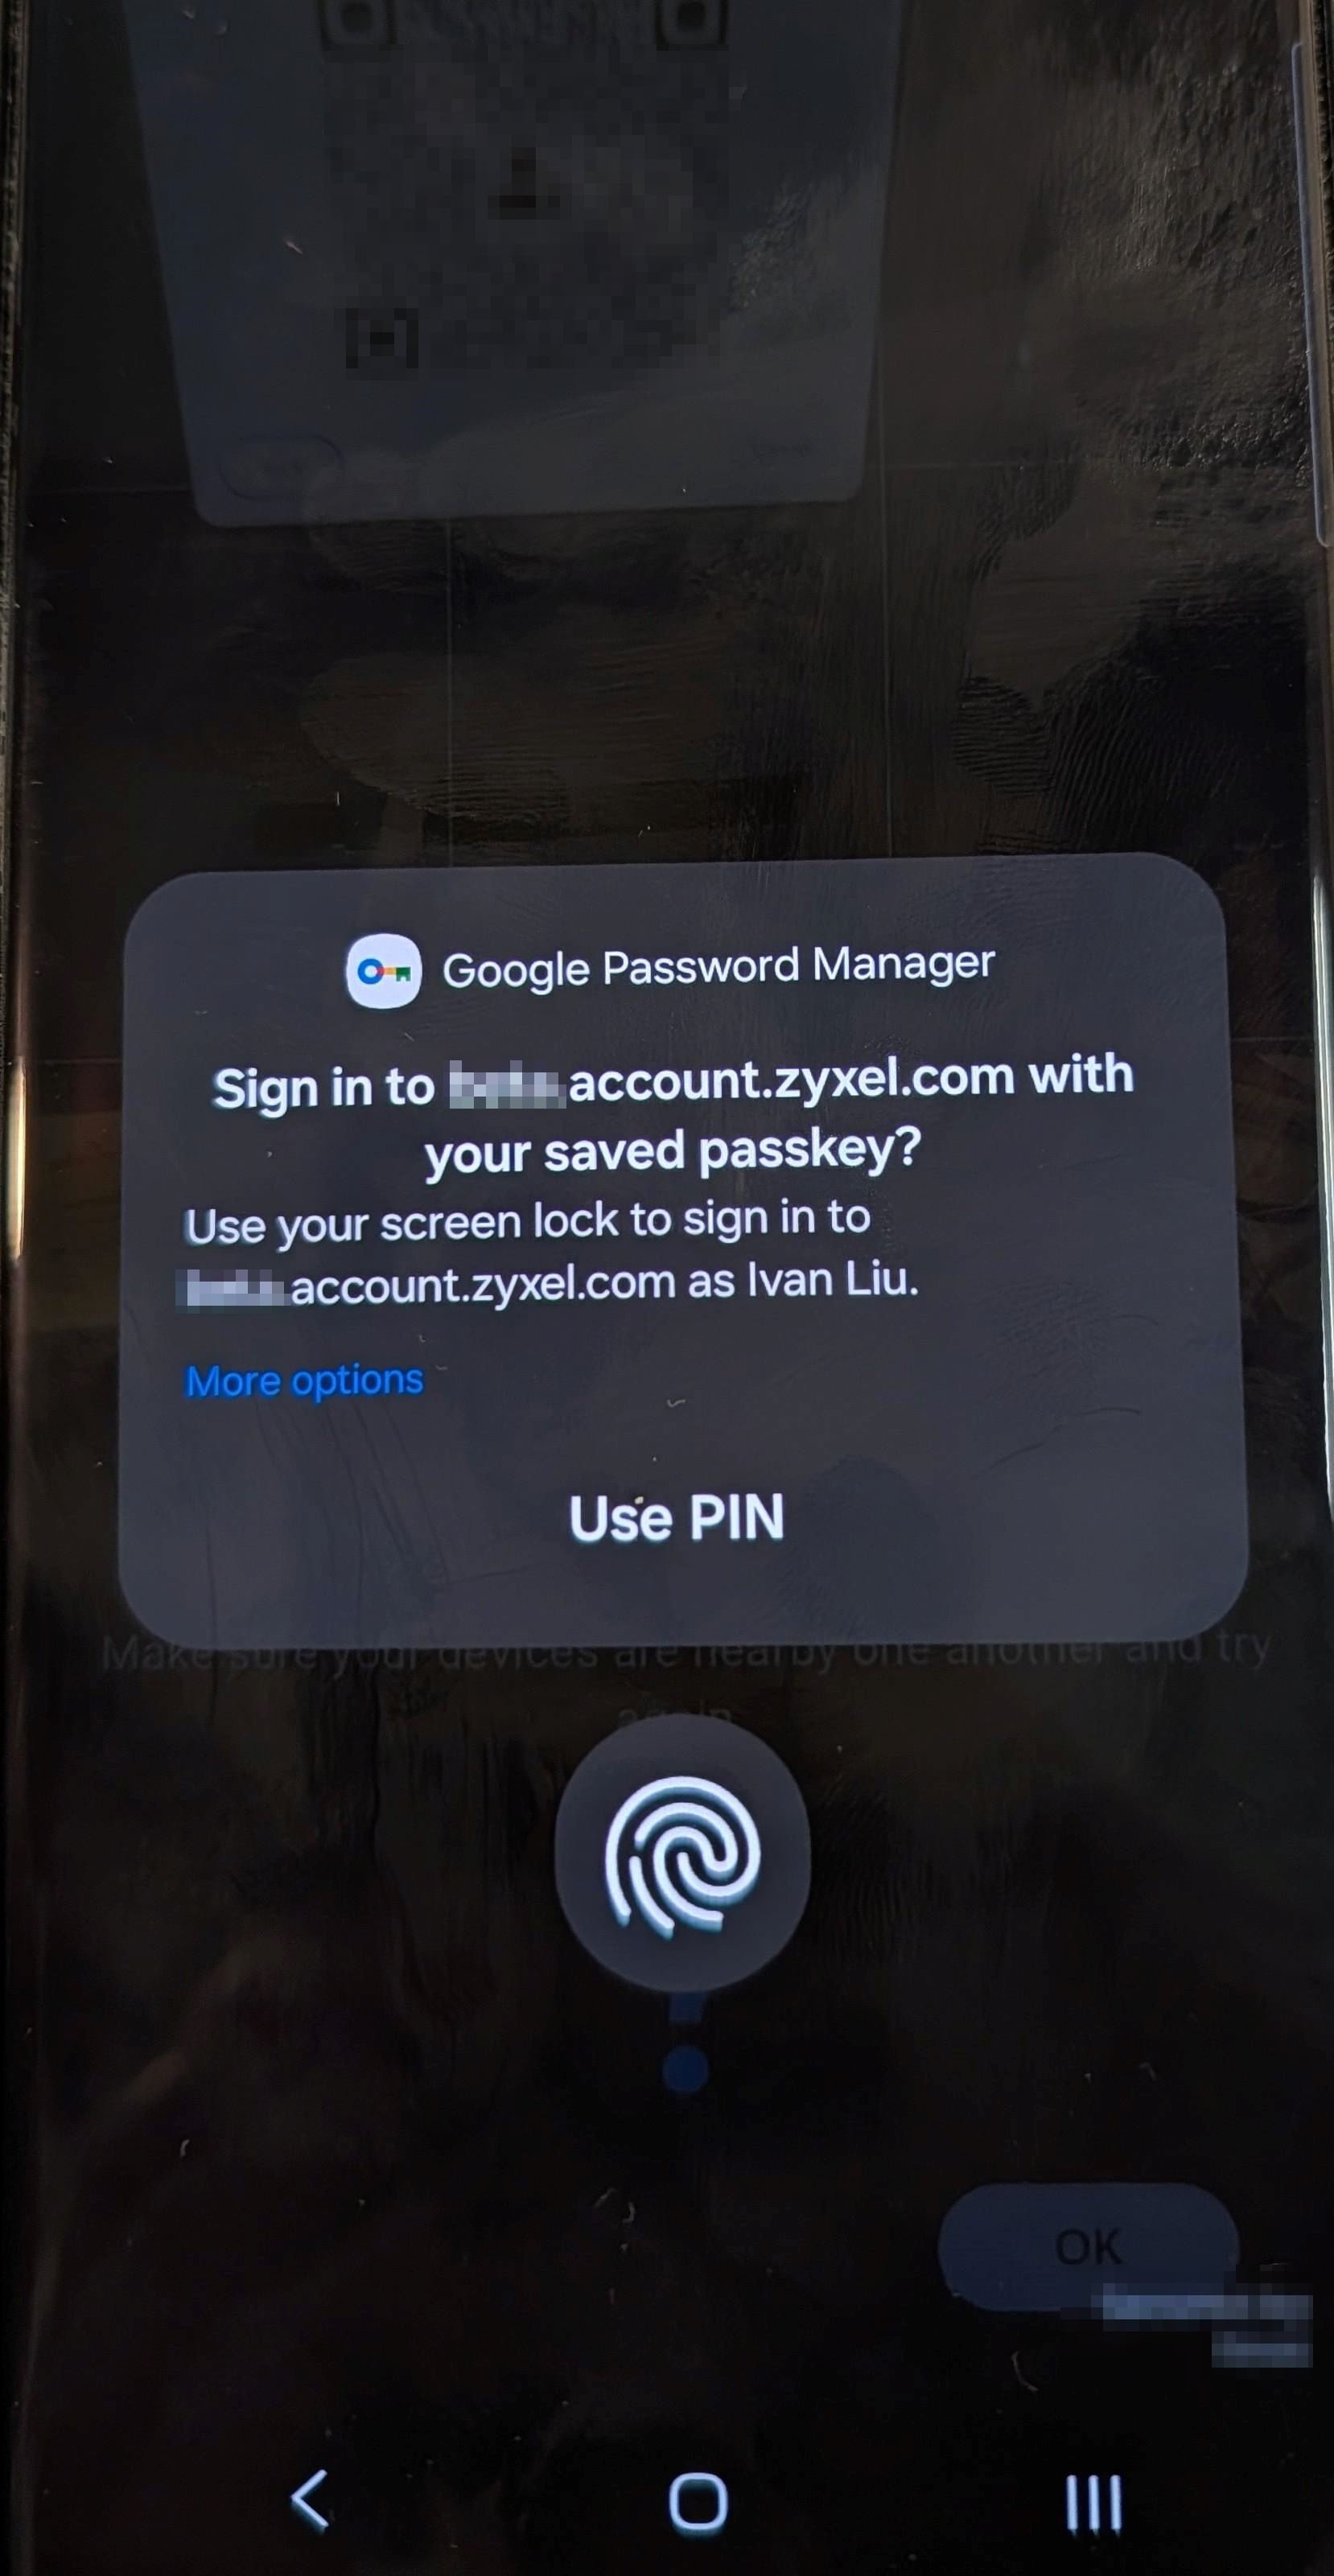
3.3.6 Passkey added successfully: You will receive a notification upon successful addition.
3.4 Adding a Hardware Security Key (FIDO Key)
3.4.1 Click"Add Passkey": On the passkey management page, click "Add Passkey".
3.4.2 Select"Security Key": In the authentication prompt, select the "SecurityKey" option.
3.4.3 Insert and authenticate: Follow the system prompts to insert your hardware security key and complete authentication.
3.4.4 Passkey added successfully: You will receive a notification upon successful addition.
4. How to Use a Passkey for Login
Once you've set up a passkey, logging into your Zyxel Account will be simpler than ever. We will have three different scenarios to show you how to use Passkey:
4.1 Logging in on the Same Device where the Passkey was Registered
This scenario applies if you are using passkeys which is on the same device.
4.1.1 Click "Continue with Passkey": On the Zyxel login page, select the "Continue with Passkey" option.
4.1.2 System prompts for authentication: Your browser or operating system will prompt you to use biometrics (fingerprint/face recognition) or your PIN.
4.1.3 Perform biometric authentication: Conduct your biometric authentication (e.g., touch the fingerprint sensor or perform a face scan).
4.1.4 Login successful: After successful verification, you will be logged in.
4.1.5 Email notification: You will receive a sign-in successful email notification.
4.2 Logging in on a Different Device within the Same Ecosystem (Synced Passkey)
This scenario applies if you are using cloud-synced passkeys (e.g., iCloud Keychain, Google Password Manager).
4.2.1 Attempt to sign in on another device: On another device within the same ecosystem (e.g., logging in on a Mac after registering a passkey with an iPhone), attempt to sign in.
4.2.2 Click "Continue with Passkey".
4.2.3 Key manager finds passkey: The system will find the passkey you registered for zyxel.com through your key manager (e.g., iCloud Keychain).
4.2.4 System prompts for authentication: Your operating system will prompt you for biometric or PIN verification.
4.2.5 Perform biometric authentication: Conduct the authentication.
4.2.6 Login successful: After successful verification, you will be logged in.
4.2.7 Email notification: You will receive a sign-in successful email notification.
4.3 Using a Phone as a Roaming Authenticator to Sign In on a Different Device (Cross-Device Authentication)
This scenario applies when you want to log in on a device not in the same ecosystem (e.g., using a Linux desktop computer to log in and your phone to authenticate).
4.3.1 Click "Continue with Passkey": On the Zyxel login page of the non-mobile device, select the "Continue with Passkey" option.
4.3.2 Browser displays passkey options: The browser will display passkey options, usually with a "Use another device" option.
4.3.3 QR code displayed: A QR code will be displayed on the screen.
4.3.4 Scan the QR code: Use your phone, which has the passkey registered, to scan this QR code.
4.3.5 Authenticate on your phone: Follow the prompts on your phone to complete fingerprint or face recognition authentication.
4.3.6 Login successful: After successful authentication, the browser will automatically log in.
4.3.7 Email notification: You will receive a sign-in successful email notification.
5. FAQ
5.1 Can I log in to the Zyxel online platform without a Zyxel account?
The Passkey is only a way to log in to the Zyxel online platform, not an account. You need to have a Zyxel account to enable login by Passkey.
5.2 Can I log in to the Zyxel account when the Passkey fails?
Yes, the Zyxel account and Passkey are separated. Once the Passkey is created, you can still choose to log in to the Zyxel account through the Passkey or the original path.
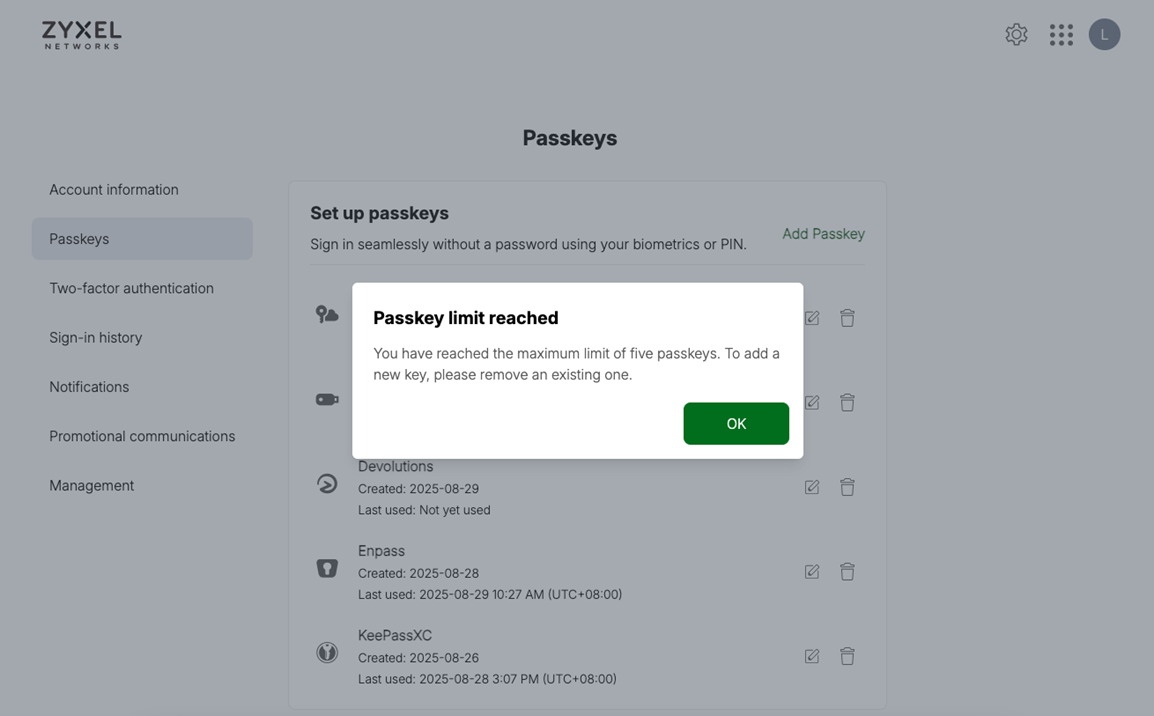
5.3 How many Passkeys can one Zyxel account have?
Each Zyxel Account can have a maximum of 5 Passkeys configured. If you have reached the limit, you will see the information as shown in the screenshot below. You need to remove an existing passkey before adding a new one.
5.4 Can I edit the display name of the Passkey?
5.4.1 Go to the Passkey management page: Log in to your Zyxel Account and go to the "Passkeys" page.
5.4.2 Click the edit icon: Next to the passkey you wish to edit, click the edit icon.
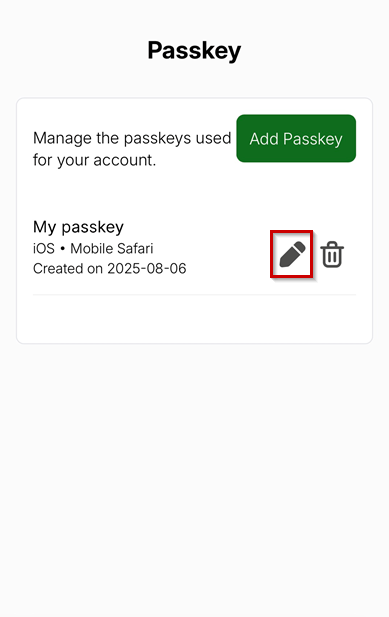
5.4.3 Enter a new name: In the pop-up window, enter the new passkey name.
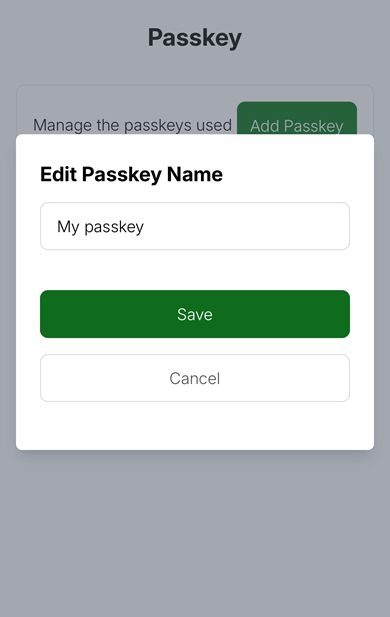
5.4.4 Click "OK": The edit is complete.
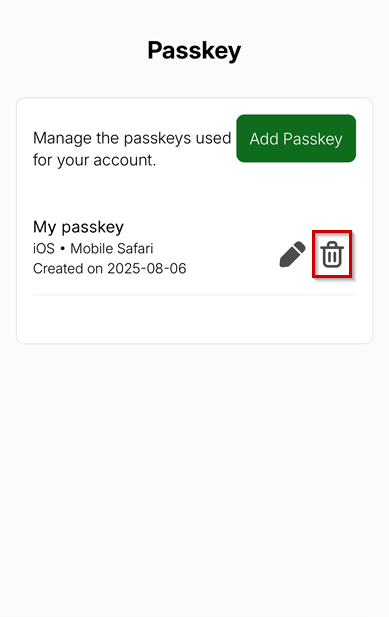
5.5 How to remove the Passkey?
Please note that once a passkey is deleted, you will no longer be able to use it to log in, and this action cannot be undone.
5.5.1 Go to the Passkey management page: Log in to your Zyxel Account and go to the "Passkeys" page.
5.5.2 Click the remove icon: Next to the passkey you wish to remove, click the remove icon.
5.5.3 Confirm to remove: A confirmation dialog will appear, asking if you are sure you want to remove the passkey. Click "Remove" to confirm.
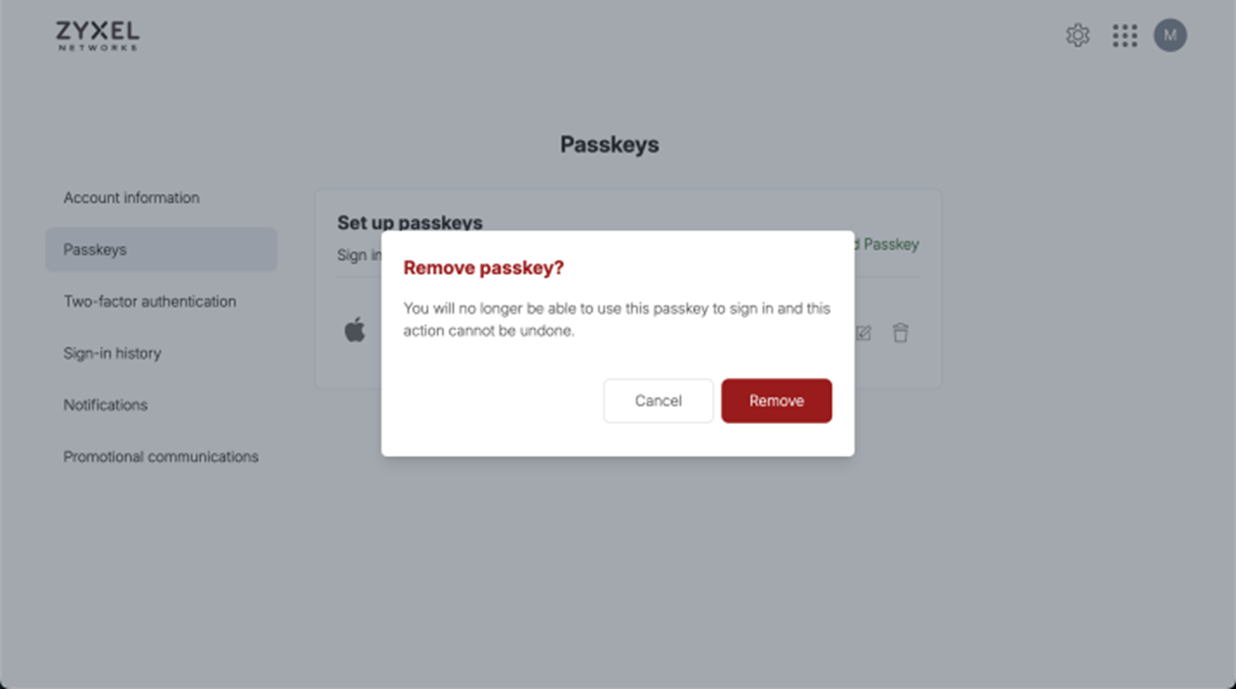
5.5.4 Passkey Removed: Upon successful removal, you will receive a "Deletion Successful" notification.
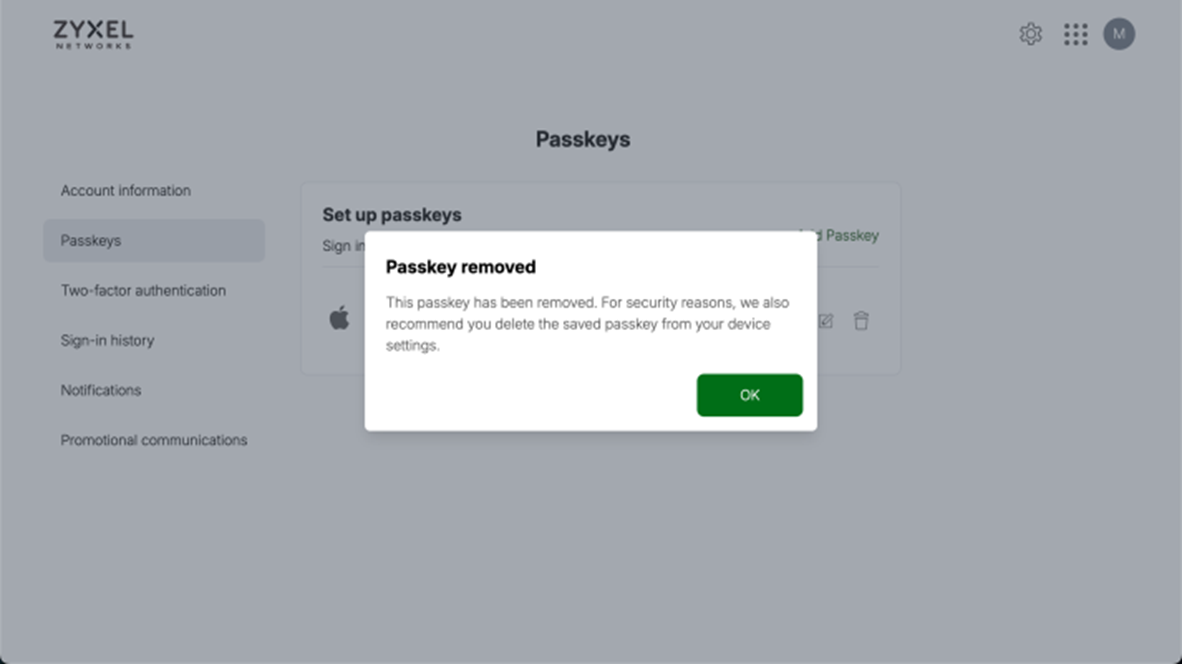
5.5.5 Email Notification: Zyxel will send an email confirming that your passkey has been removed from your Zyxel Account.
Important Note: The Zyxel server cannot delete the private key from your device. It is highly recommended that you manually delete the saved passkey from your device settings or browser password manager.
Comments
-
Hello, I have not reached the limit of 5 passkeys, however, it only allows me to add a one only single key.
0 -
0
-
Hi,
first of all thank you for the post regarding passkeys and their use. I got two questions, will it, or is it currently possible to remove password login in favor of passkey only? Are there any plans to support it, because passkeys can replace passwords with all their attack vectors.
If this already is available, would you please share how to disable passwords in a post?
best regards and many thanks!0 -
Hello @theJoker8814,
Thank you for reaching out!
Unfortunately, we don't currently offer the feature you mentioned.However, I really appreciate you sharing this suggestion! I'll bring your idea to our team for consideration and will update you once I have a conclusion on whether this feature might be added in the future.
In the meantime, if you need any assistance with our current login methods or have any other questions, please don't hesitate to reach out.
Thank you for your feedback!
Ivan0
 Freshman Member


Categories
- All Categories
- 442 Beta Program
- 3K Nebula
- 222 Nebula Ideas
- 129 Nebula Status and Incidents
- 6.5K Security
- 619 USG FLEX H Series
- 349 Security Ideas
- 1.7K Switch
- 84 Switch Ideas
- 1.4K Wireless
- 53 Wireless Ideas
- 7K Consumer Product
- 298 Service & License
- 485 News and Release
- 92 Security Advisories
- 31 Education Center
- 10 [Campaign] Zyxel Network Detective
- 4.8K FAQ
- 34 Documents
- 88 About Community
- 105 Security Highlight