How to install Multy Plus (WSQ60) via Web GUI?
Options

Zyxel_Support
Posts: 436  Zyxel Employee
Zyxel Employee
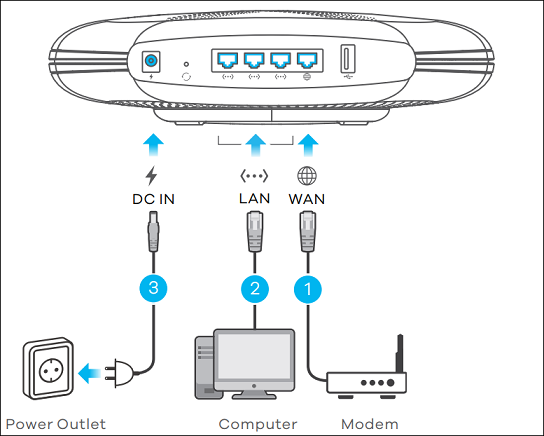
Step
1: Connect Multy Plus (WSQ60) to Modem.
Connect the WAN port of Multy Plus (WSQ60) to the LAN port of Modem with an Ethernet cable.
Step
2: Connect a laptop/PC to Multy Plus (WSQ60).
Connect a laptop/PC to the LAN port of Multy Plus (WSQ60).
Step 3: Power on Multy Plus (WSQ60).
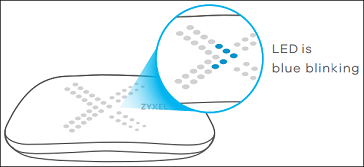
Step
4: Check the LED behavior.
The LED of Multy Plus (WSQ60) should be Blue Blinking after booting up when it is ready for .
Step 5: Access the Web GUI with a web browser.
- Open a browser such as Chrome, Firefox, Safari and so on.
- Type http://zyxelwifi.com, http://zyxelwifi.net or http://192.168.212.5 (default IP address) in the address bar of the browser.


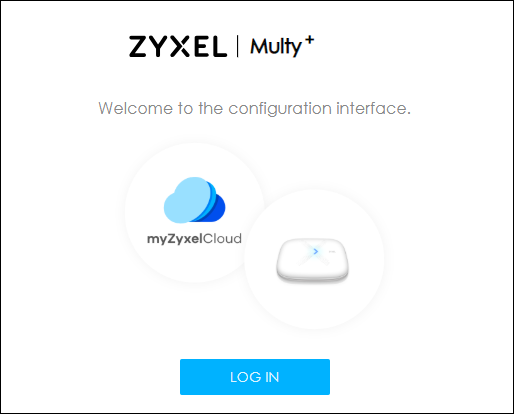
Step 6: Showing welcome screen.
This welcome screen will be redirected to installation page automatically without any action.
This welcome screen will be redirected to installation page automatically without any action.
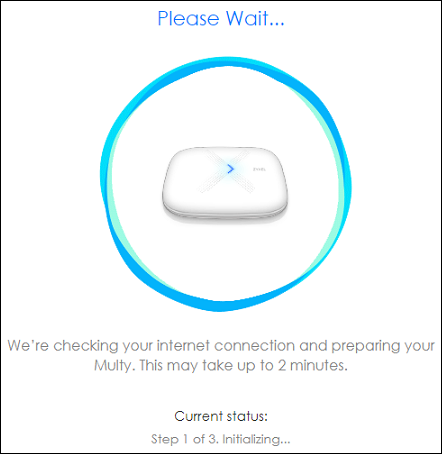
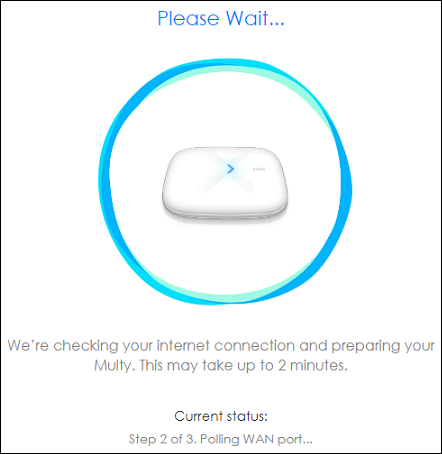
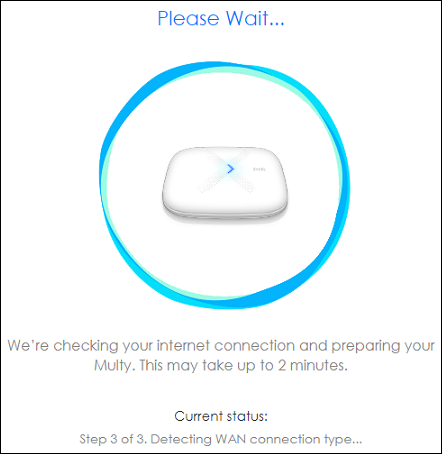
Step 7: Start installation procedure.
It will automatically run the installation procedure after login.
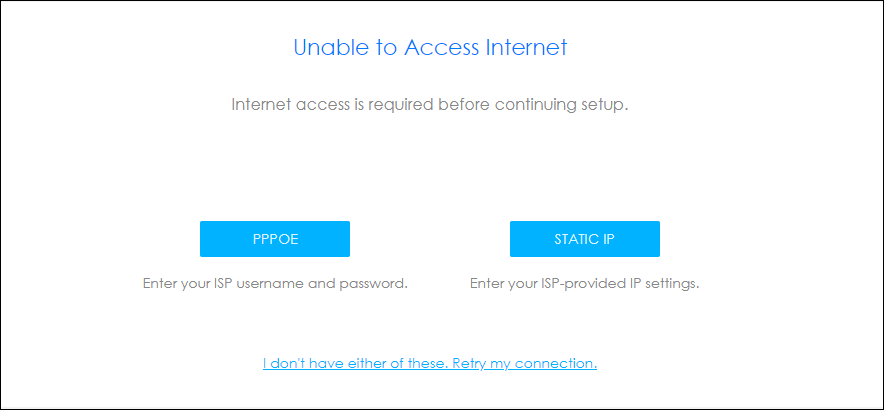
If Multy Plus (WSQ60) is not able to access Internet during the installation, it will direct the browser to the Unable to Access Internet page. Please refer to the relevant articles, How to configure PPPoE connection during installation via Web GUI? or How to configure Static IP during installation via Web GUI?, for further configuration and then continue the installation.
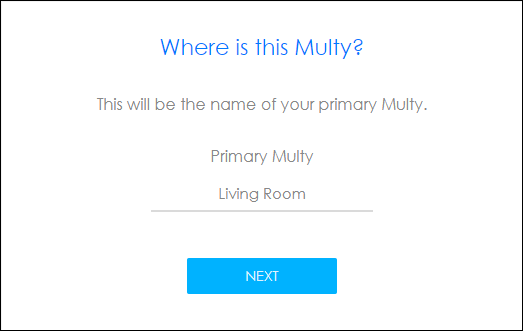
Step 8: Set up the name of your primary node.
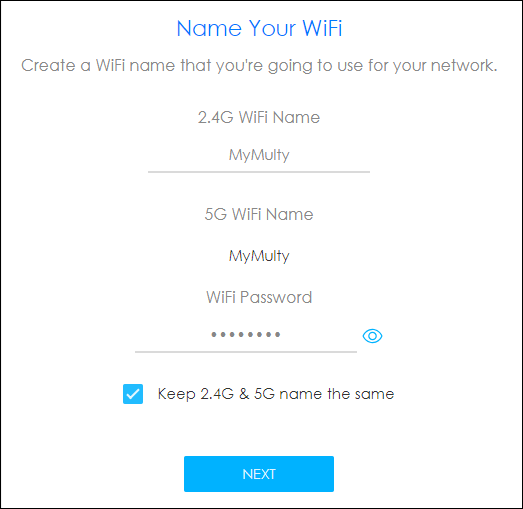
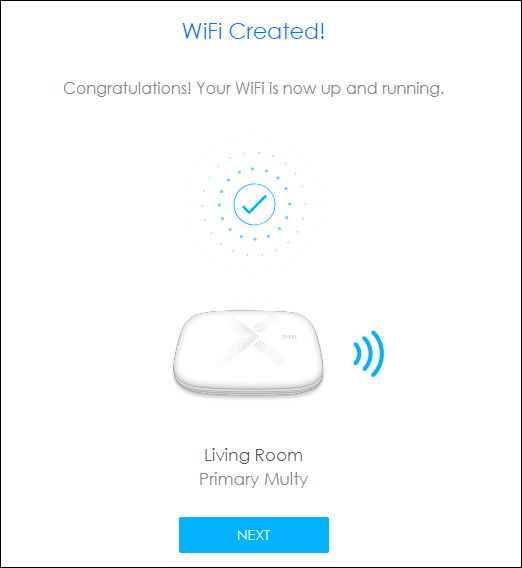
Step 9: Set up the name and password for your WiFi.
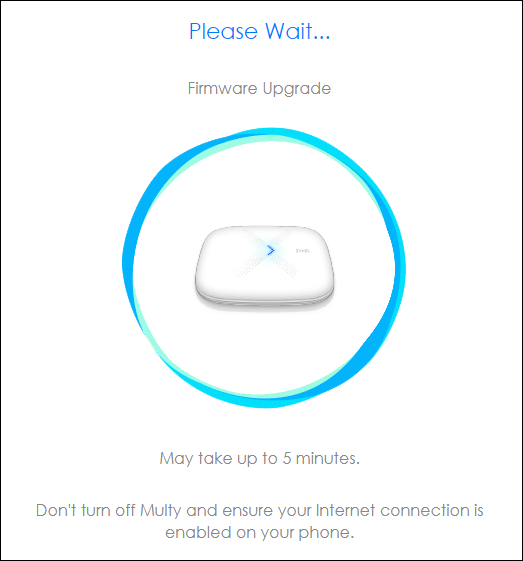
Step
10: Firmware Upgrade.
The device will run firmware upgrade automatically after setting up WiFi.
Step 11: Join myZyxelCloud.
- Please click the NEXT button.

- Click the OK button.

- Log in
with myZyxelCloud account.

- Finishing setup to pair your myZyxelCloud account with Multy Plus (WSQ60).

- Request to relogin via HTTPS for security purpose.

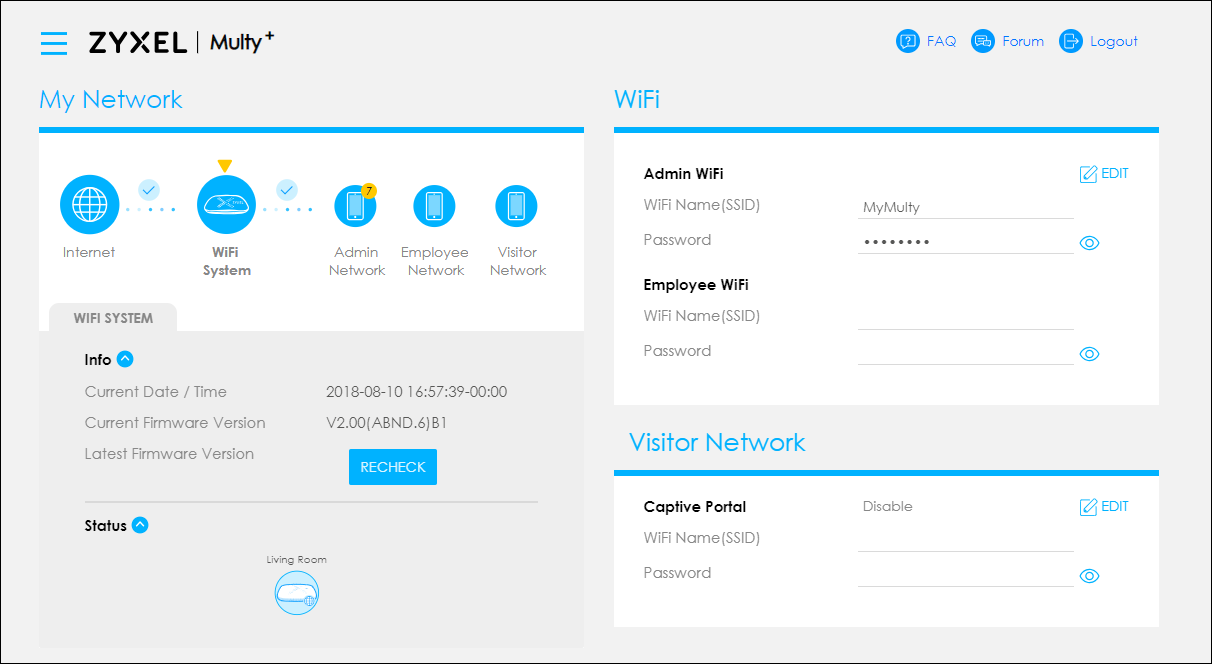
Step 12: Finish installation and manage Multy Plus (WSQ60) via WebGUI.
0
Categories
- All Categories
- 442 Beta Program
- 3K Nebula
- 223 Nebula Ideas
- 129 Nebula Status and Incidents
- 6.6K Security
- 628 USG FLEX H Series
- 353 Security Ideas
- 1.8K Switch
- 85 Switch Ideas
- 1.4K Wireless
- 54 Wireless Ideas
- 7K Consumer Product
- 299 Service & License
- 492 News and Release
- 92 Security Advisories
- 31 Education Center
- 10 [Campaign] Zyxel Network Detective
- 4.8K FAQ
- 34 Documents
- 88 About Community
- 108 Security Highlight
